SOA 12c - Oracle Enterprise Scheduler (Create a Scheduled Process)
Here we go!
Information that you need to know:
Create Job Definition
Create Schedule
Submit Job Request
Now in this steps we are going to execute the Schedule Process.
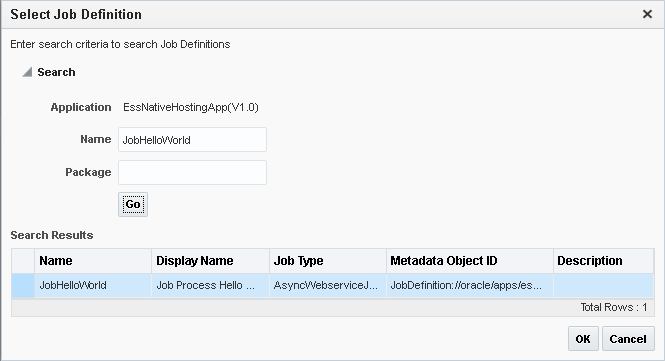
1. From the Scheduling Services menu, select Job Requests and then select Submit Job Request.

2. Select the Job created previously: JobHelloWorld

3. Select the Schedule created previously: ScheduleHelloWorld, and click on OK button.

Request Search
Once completed the previous steps, the Schedule Process was completed, if you want to know the result of any Job Request status, you need do the next steps.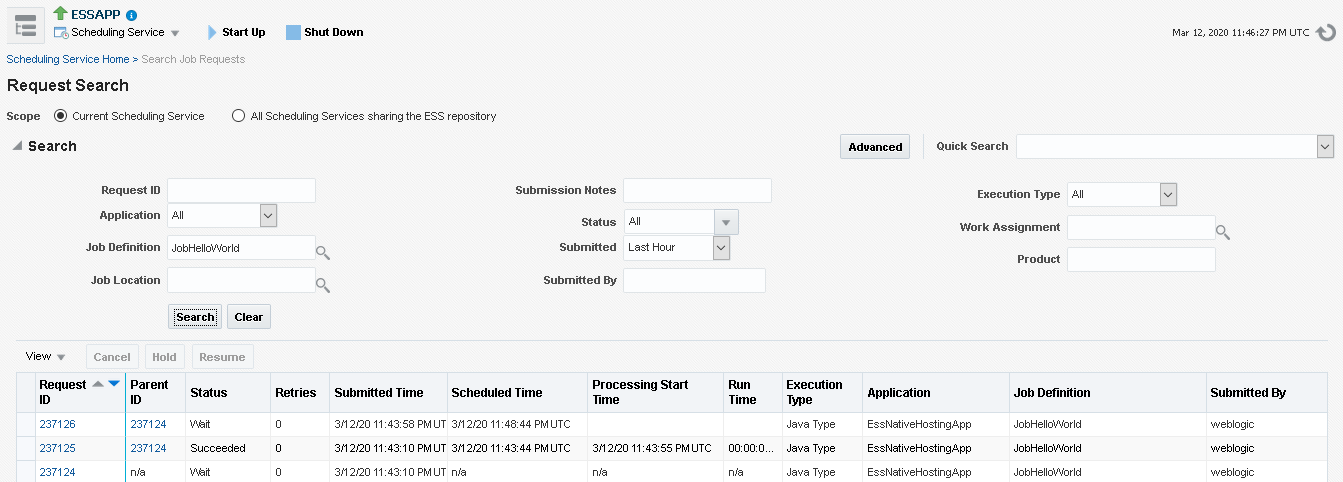

Information that you need to know:
With Oracle Enterprise Scheduler, you can define, schedule and run jobs, or units of work done on an application's behalf.
Oracle Enterprise Scheduler is installed with a product that embeds it to provide scheduling services. You typically won't have to install Oracle Enterprise Scheduler.
With Oracle Enterprise Scheduler, you might define a job that runs a particular PL/SQL function or command-line process. You can define a job that executes Java code. Those job types are included with Oracle Enterprise Scheduler:
- Java job type for executing Java code.
- Web Service job type.
- EJB job type.
- Process job type for executing a command-line command.
- PL/SQL job type for executing functions in Oracle's extension language for SQL.
Create Job Definition
- From the navigation pane, expand the Scheduling Services folder and select the Oracle Enterprise Scheduler application.
- From the Scheduling Services menu, select Job Metadata and then select Job Definitions.
- Click on create button.
- The Create Job Definitions page displays.
The next table shows a short description of some fields available in Create Job Definition page:Column Description Name This column displays the name of the job definition. Display Name This column contains a value that is displayed to users for this definition.
This value may contain spaces and should be memorable for users who might later view or search for the definition in the user interfacePackage This column displays the name of the Java package associated with the job definition. Job Type This column displays the job type associated with the application. Description This column displays a description of the job definition. - Then on Create Job Definitions page, enter the following information: :
Name JobHelloWorld Display Name Job Process Hello World Package /oracle/apps/ess/custom/SOA/helloworld Description Job Type AsyncWebServiceJobType
For example:
- Then, we need to do click on Select Web Service button.
Then on Web Service information popup section, we need to put the next values:
Note: In this exercise we are creating the job definition using the HelloWorld exercise, if you need more information about how create the SOA application go to next link: https://iscfernandogarciagarcia.blogspot.com/2020/03/soa-12c-helloworld.html - Then on Select Web Service popup page, enter the following information: :
WSDL http://your address/infra/services/default/HelloWorld/helloworldbpelprocess_client_ep?WSDL Web Service Type SOA Services helloworldbpelprocess_client_ep Port Type HelloWorldBPELProcess_pt Operation Process Payload Leave the default payload value
For example:
- Click on OK button
Create Schedule
- From the Scheduling Services menu, select Job Requests and then select Define Schedules.
- Click on create button.
- The Create Schedule page displays.
- Then on Create Schedule page, enter the following information: :
Name ScheduleHelloWorld Display Name Schedule Process HelloWorld Package /oracle/apps/ess/custom/SOA/helloworld/scheduler Description Frecuency Hourly/Minute Every - Hour(s) & Minute(s) Huor(s) = 0
Minute(s) = 5Time zone (UTC+00:00) Coordinated Universal Time (UTC) Start Date SYSDATE Use End Date Unchecked
For example:
Submit Job Request
Now in this steps we are going to execute the Schedule Process.
1. From the Scheduling Services menu, select Job Requests and then select Submit Job Request.
2. Select the Job created previously: JobHelloWorld
3. Select the Schedule created previously: ScheduleHelloWorld, and click on OK button.
Request Search
Once completed the previous steps, the Schedule Process was completed, if you want to know the result of any Job Request status, you need do the next steps.
- From the Scheduling Services menu, select Job Request and then select Search Job Requests.
- The Request Search page displays.
- Set the JobHelloWorld value on Job Definition field.
- Click on search button


Comments
Post a Comment